12
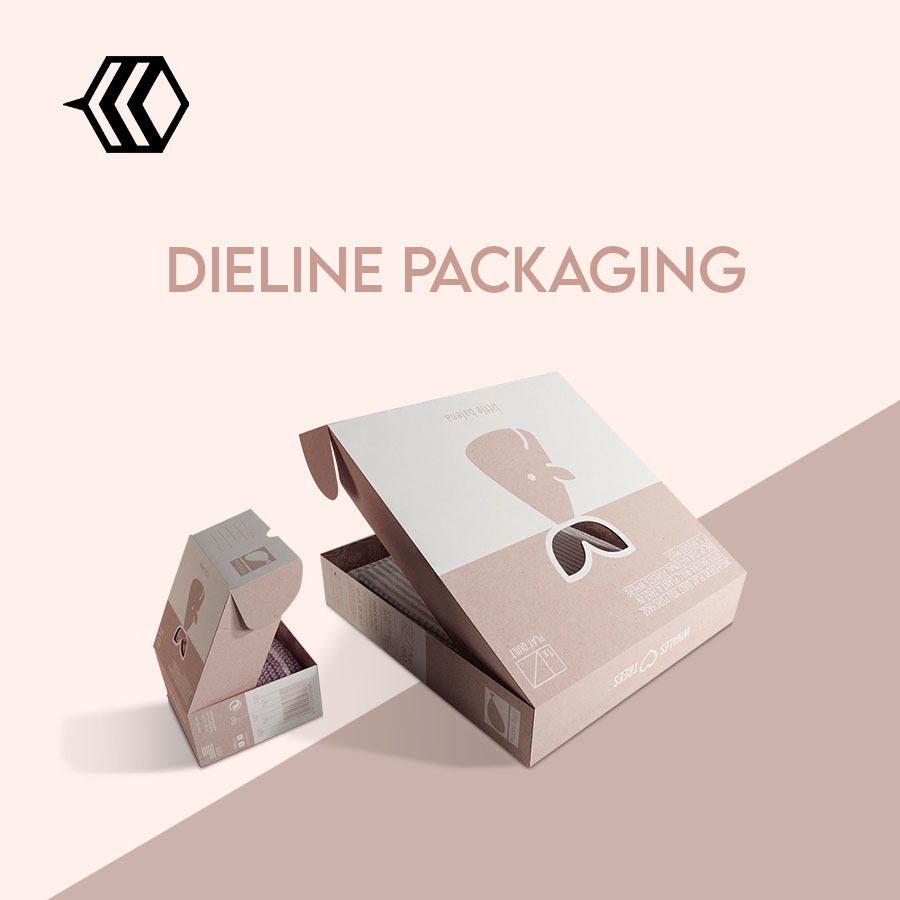
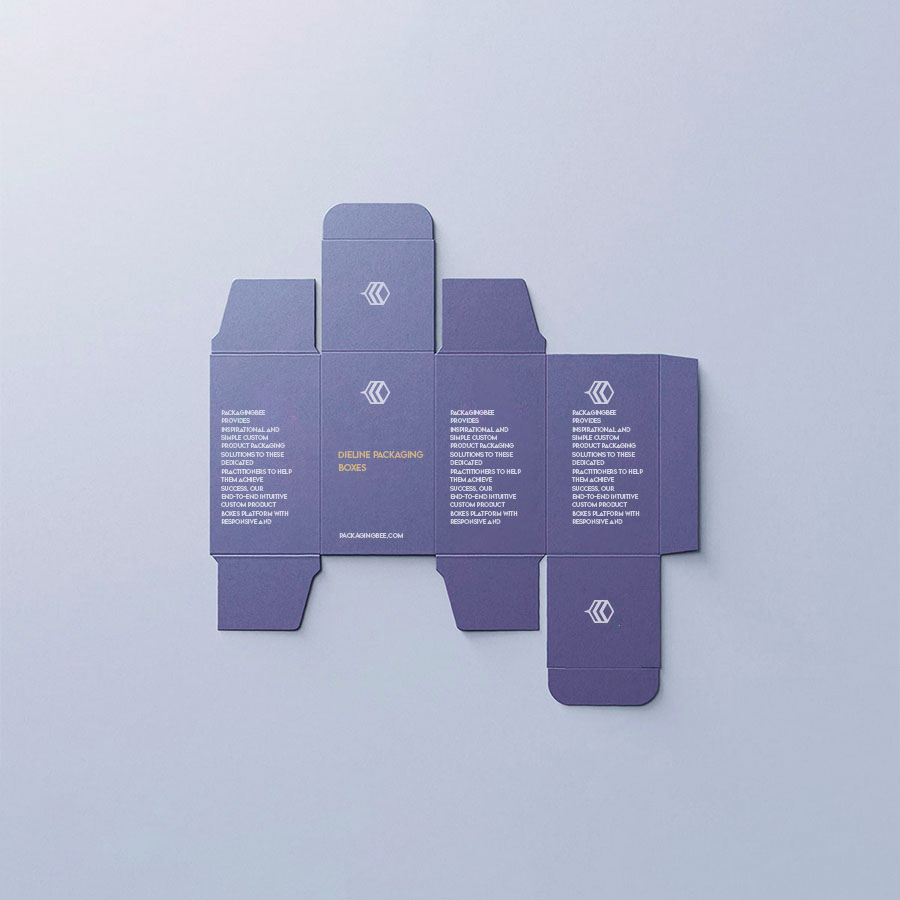
In the packaging industry, a dieline represents the boundary of a physical object. In other words, a dieline is a line that represents the edge or outside of a physical package design.
What Is A Dieline?
The term “dieline” originates from the word “die.” A die is an apparatus used to cut shapes according to preset measurements inside materials such as paper, sheets of metal, and plastic.
This process is used to cut the material according to the profile of a dieline.
Now that you can define ‘what is a dieline,’ let’s move towards another important question: What is a dieline in the printing industry?
What Is a Dieline in Printing Industry
In the printing industry, a dieline is a print layout that represents the inside measurements of a physical package design. It often includes graphics and other visual elements such as color, texture, and typography to convey important information about the brand, product, and packaging.
For example: Consider you are printing an inflatable mattress box. The dieline would represent how big the box is and how an inflatable mattress would fit into it.
Since we have a firm grip on dieline meaning and ‘what is a dieline in the printing industry,’ let’s keep moving and study dielines in more detail.
What Constitutes A Dieline Template?
A dieline template comprises the following elements:
- Variable information, e.g., the logo, title, font size, color, etc.
- Non-variable information, e.g., bleed area, registration marks, etc.
- Crossing points are similar to cut guides showing where fold lines can be placed on a jig to ensure fold accuracy and what material to use.
- Safety zone is the area in which the product can be printed safely in high quality without giving a distorted appearance in color, depth, or texture.
Let’s go over these elements in detail.
- Variable Information: This is of prime importance in any dieline because this information needs to be made available to the repackager and consumer at all times.
In a dieline template, the variable information is represented using specific fonts, colors, and sizes.
- Non-Variable Information: These are elements such as bleeds, registration marks that need to be marked on a design for quality control purposes. For example, suppose you are printing a color box for a product. In that case, the bleeds need to be shown on the design because this is essential for quality control purposes during printing.
(Bleeds are color or background patterns printed to the edge of a print section. They help avoid color or design distortion during printing, and they also add a professional touch to the print)
- Crossing Points: Crossing points are helpful to fold a print correctly and accurately on a jig.
- Safety Zone: This part of the dieline is usually left blank as this area is non-printable. It includes parts such as the logo, some text, etc., that need to be printed on the visible side of the package only.
Now that you know about the four vital elements of dieline, let’s study the various lines used in a dieline template.
Lines Used for Making Dieline
There are various lines used when creating a dieline, such as the following:
- Fold Lines
- Cut Lines
- Bleed Lines
- Safety Lines
- Glue Tabs
Here’s a brief look into each of these options.
- Fold Lines: Fold lines are usually marked in red and are printed on a physical package design. They show where the box or container will fold during the production process, thereby allowing the maximum print area of the outer surface of a package.
- Cut Lines: For a print job to appear its best, bleed lines and cut lines must align perfectly on a press sheet. Therefore, cut lines are used to ensure that all the process workpieces can be cut accurately and neatly on a jig machine. They are usually colored black.
- Bleed Lines: The green colored lines are bleed lines. They represent the color or background patterns printed right up to the edge of a print section. They help avoid color or design distortion during printing from edges and add a professional touch to the finished print job.
- Safety Lines: Some areas on a design should not be printed. The safety lines represent these non-printable areas. They include parts such as lamination, logos, some text, etc. that need to be printed on the visible side of an item only. In most cases, they are colored green and are dotted.
- Glue Tabs: These are usually colored yellow, sometimes green with a criss-cross pattern, and they show where glue tabs can be placed on a package. They help attach bar codes, coupons or gift cards, etc.
We have talked a lot about dieline and what they comprise and what they should include. However, we haven’t got to the essence of the subject, which is ‘Why are dielines important?’
Why Are Dielines Important?
Dielines are extremely important because they help package designers create efficient and space-saving designs that can be easily manufactured.
This section will tell you all about the importance of this vital step when creating custom packaging.
Communication Between Designers
The primary reason behind making a dieline is that it acts as a tool for communication between package designers and producers, particularly when the final product needs to be produced.
A clear understanding of how a package design is formed will help dieline users create simple and cost-effective designs, which ensures the smooth production of individualized products with minimum wastage of resources.
Customization
Designers come up with custom packaging based on a client’s product’s shape, size, and design specifications.
Suppose the client fails to provide complete information about their products. In that case, it will be extremely difficult for designers to develop an appropriate package design that meets all parameters.
That is where dielines become essential as they provide manufacturers and printers with accurate measurements, angles, and product specifications.
Quality
Suppose designers are provided with accurate information about the dimensions, shape, and size. In that case, they can design custom packaging that ensures the complete safety of products.
In addition to this, the final product will have better protection against external factors such as dirt, dust, or water, so it will always remain in good condition.
Improved Design Efficiency
It is important to note that when dielines are used correctly, they ensure smooth printing.
Suppose there is no overlap between process workpieces. In that case, it will be easier for designers and manufacturers to cut these pieces with a cutting jig machine and build and finish the final product.
Saving Time And Money
Flaws in the design process can make custom packaging difficult to produce as they may not be cost-efficient or time-efficient with dielines, it is possible to save both time and money as the final product will be produced quickly and with minimum wastage of resources.
Now that we know why it’s crucial to have dielines in the design process, let’s see how you can make your dielines.
How To Make Your Dieline
Disregarding the software for a second, the process of making your dieline is pretty straightforward.
You have to find packaging similar to the one you want to create. Unfold the flaps and flatten out the box. Then, take a ruler and draw out the lines on the side of the box.
Remember, you won’t always have to make a complete dieline for your project. Likely, many designers will just need a significant shape or corner to design around. You can just trace over this section with a pen and paper if you’d rather not use the software.
Speaking off software, let’ see which software can help you create dielines to get started on a custom packaging project.
Software For Dieline Creation
Adobe Illustrator
This software is extremely easy to use and can help you create accurate dielines. If you’re looking for an expert-level tool, this should be your go-to option.
Adobe Photoshop
Photoshop isn’t the ideal choice for using vector graphics, but it does have the ability to trace images. That makes Photoshop an option if you’re working with a high-resolution image file if converting to vector graphics isn’t possible.
Adobe Indesign
Adobe InDesign includes one of the most essential functions required for dieline creation – tracing images. Vector paths can be automatically created when importing images.
Coreldraw
CorelDraw is an industry-standard option for creating custom packaging because it provides all of the features you’ll need to create dielines and other complex vector graphics for the best results, we’d recommend using this software in combination with professional print output devices like the Heidelberg Speedmaster SM 52-6.
What To Do Next?
By now, you should have some idea about ‘dieline packaging,’ ‘what is a dieline,’ ‘box dieline,’ ‘what is a dieline in packaging,’ ‘what is a dieline in printing,’ and ‘dieline meaning,’ let’s talk about dieline printing.
Dieline printing is taking your design and transferring it to paper. By doing so, you get a preliminary printout of your design. This is the perfect time to check if the color you want is right if all lettering is spelled right, and if everything lines up properly. If everything looks fine, you can go on with production or send it to print.
However, if any alterations in design are needed, you can always make them here without wasting any time or money.
After you are done with the preliminary printout, it’s time to head over to the actual printing process, where your design will be printed on boxes or packaging material.
Transferring The Dieline To Packaging
The process of making custom packaging using dielines is in itself rewarding. But, many people are not aware of the actual printing process.
To ensure that you receive your custom packaging on time without making any mistakes, here is a step-by-step guide to getting your dielines printed:
- Check For Quality
One of the most vital steps in dieline printing and packaging is checking for quality. Only the best ink should be used for making custom packaging to guarantee that your design is printed to our standards.
- Upload The Design
The next step involves uploading the design you want to be printed on your boxes or packaging material.
It’s important to note that every dieline will have a different price depending on its complexity. If you’re an expert in designing boxes, you can come up with a detailed dieline by yourself for free. If the design is complex and labor-intensive, it will cost more.
- Check The Proof
Here at Packaging Bee we send you proof of what your custom packaging would look like. Our team of experts then checks this proof to make sure that everything is up to standard. If any changes are needed, they can be done on the spot, so you won’t have to wait for more proofs until the design is finalized.
- Approve The Proof
After checking the proof, it’s time to approve it. If no changes are required, simply check the box saying that you approve of the proof and upload your logo wherever necessary.
- Order Your Packaging
After approving the proof, all left is to place an order for your custom packaging. We work hard to make sure that the design is printed on time without delays.
To Sum It All Up
This blog has covered everything you need to know about dieline printing. Diving through this blog, you’ve learned what is a dieline in packaging, what is a dieline in printing, box dielines, what are the uses of a dieline, and the importance of quality control during production, etc.
We hope that this blog has helped you understand dieline packaging better. If you’re interested in getting your custom packaging printed, or want the best dieline packaging services available, feel free to contact us!